
LOCKPICKTOOL
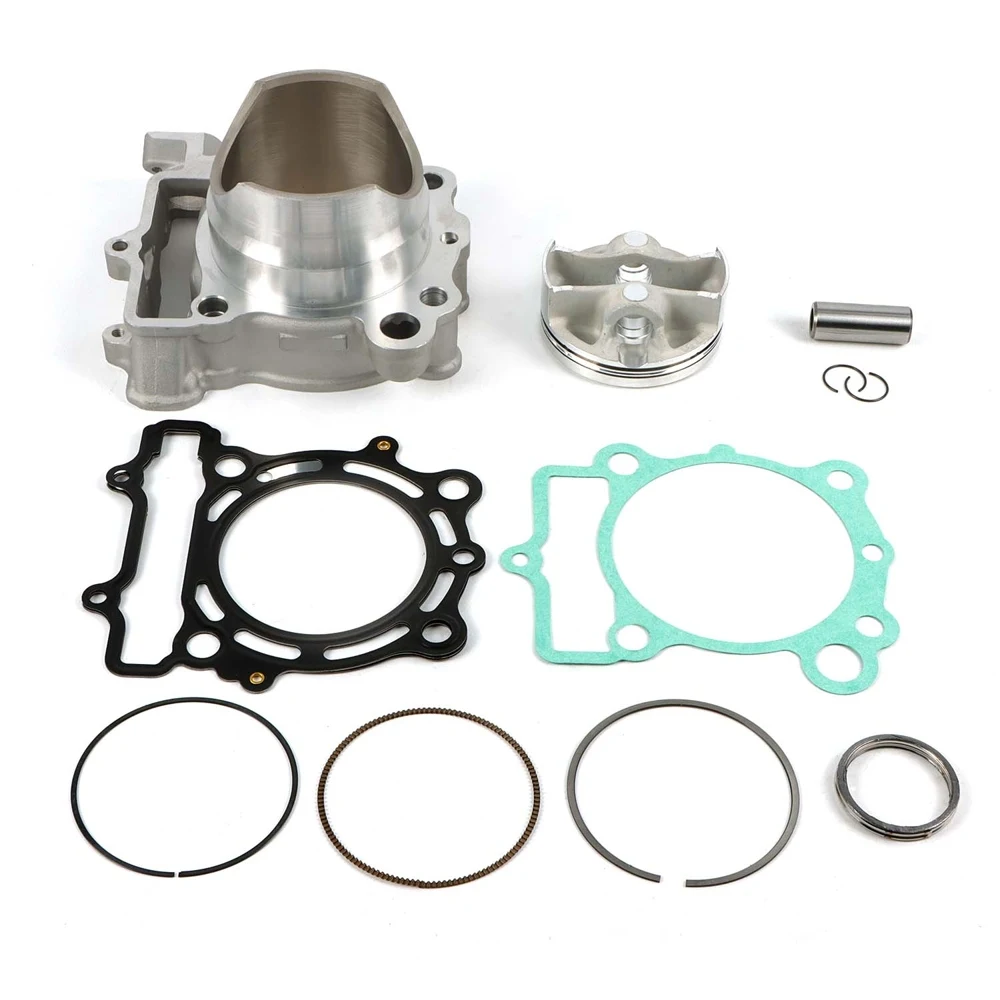
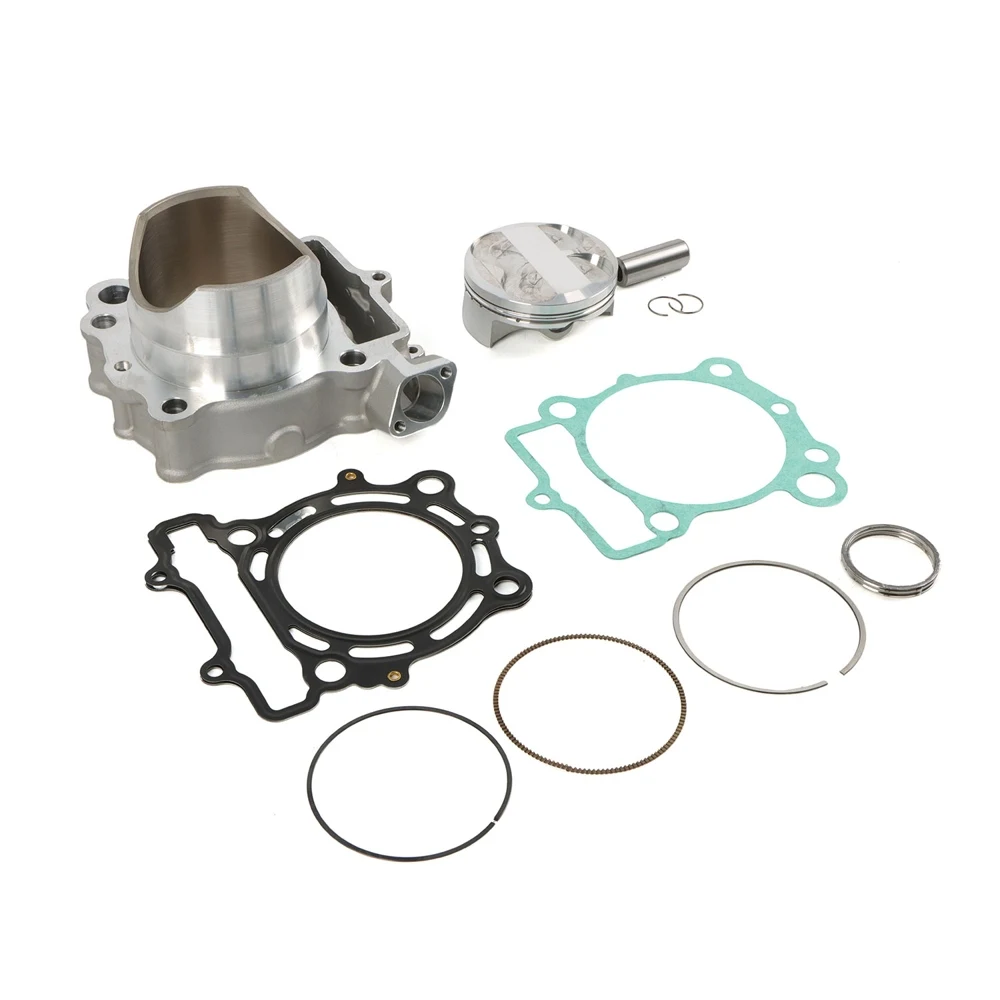
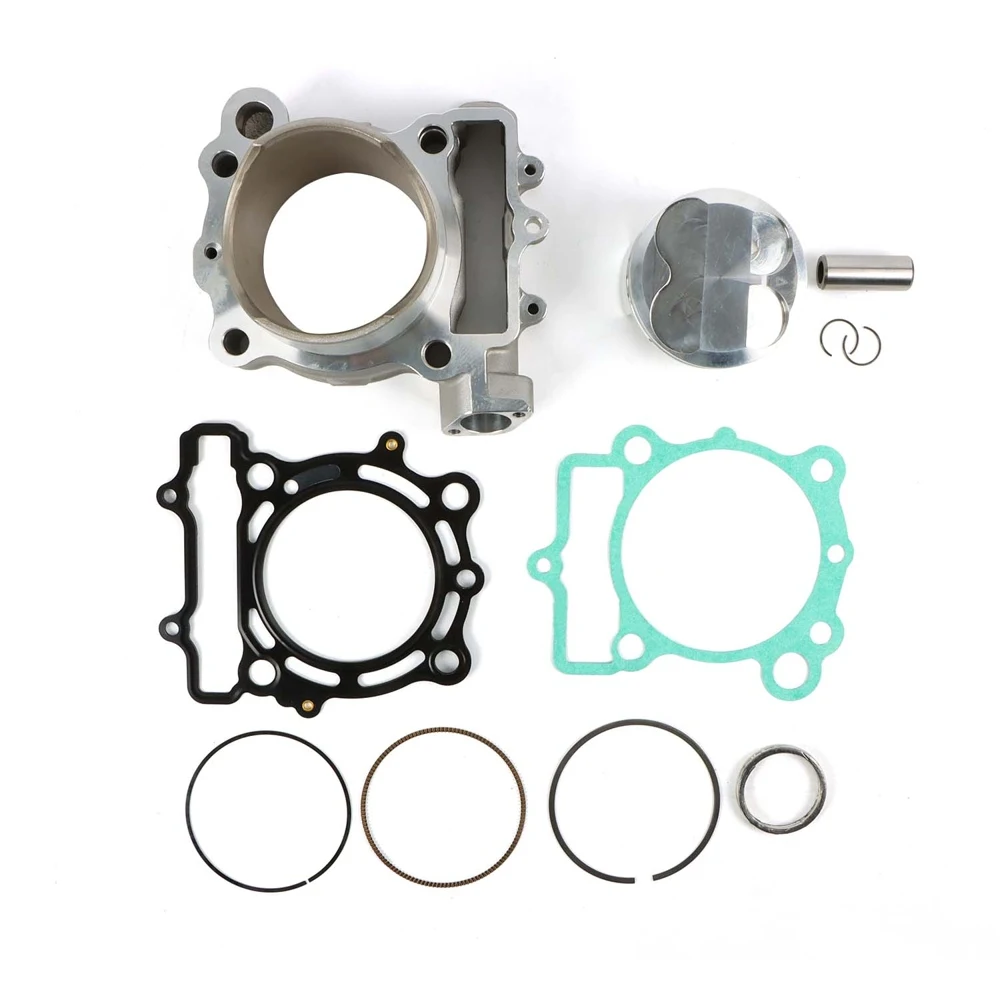
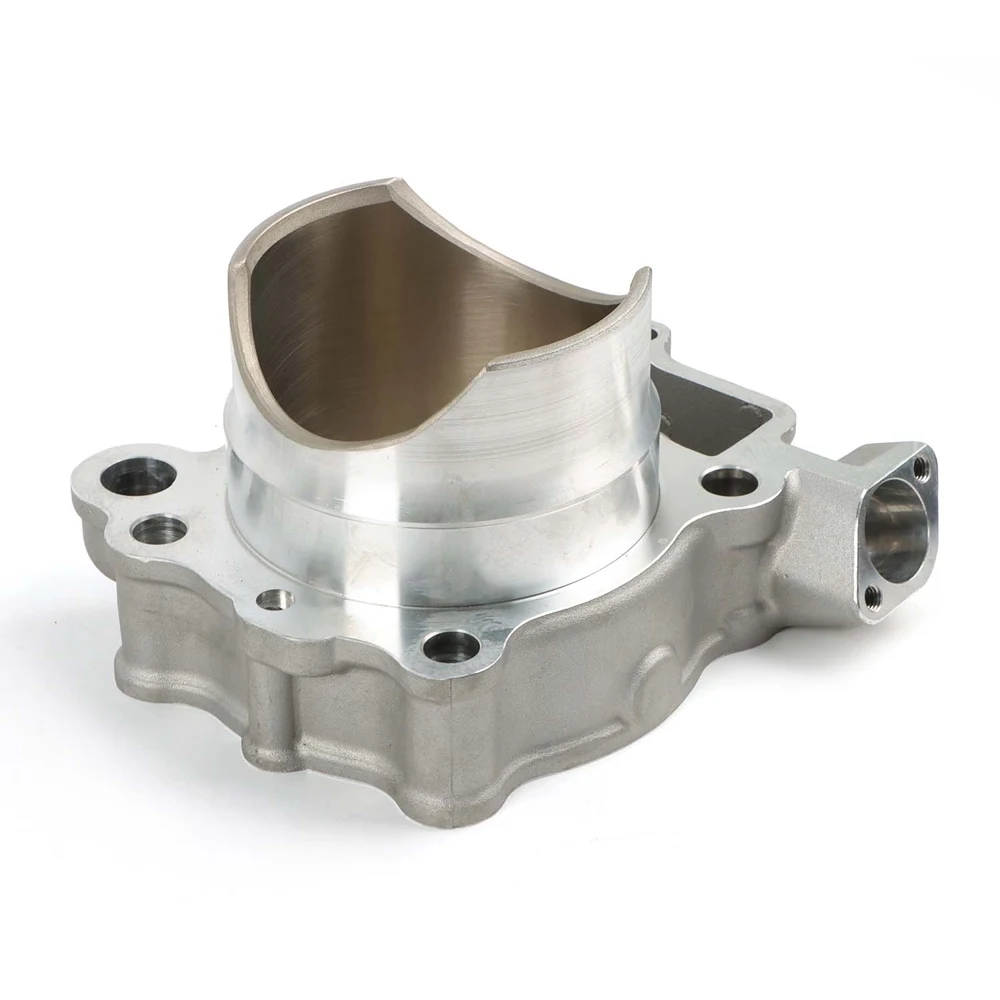
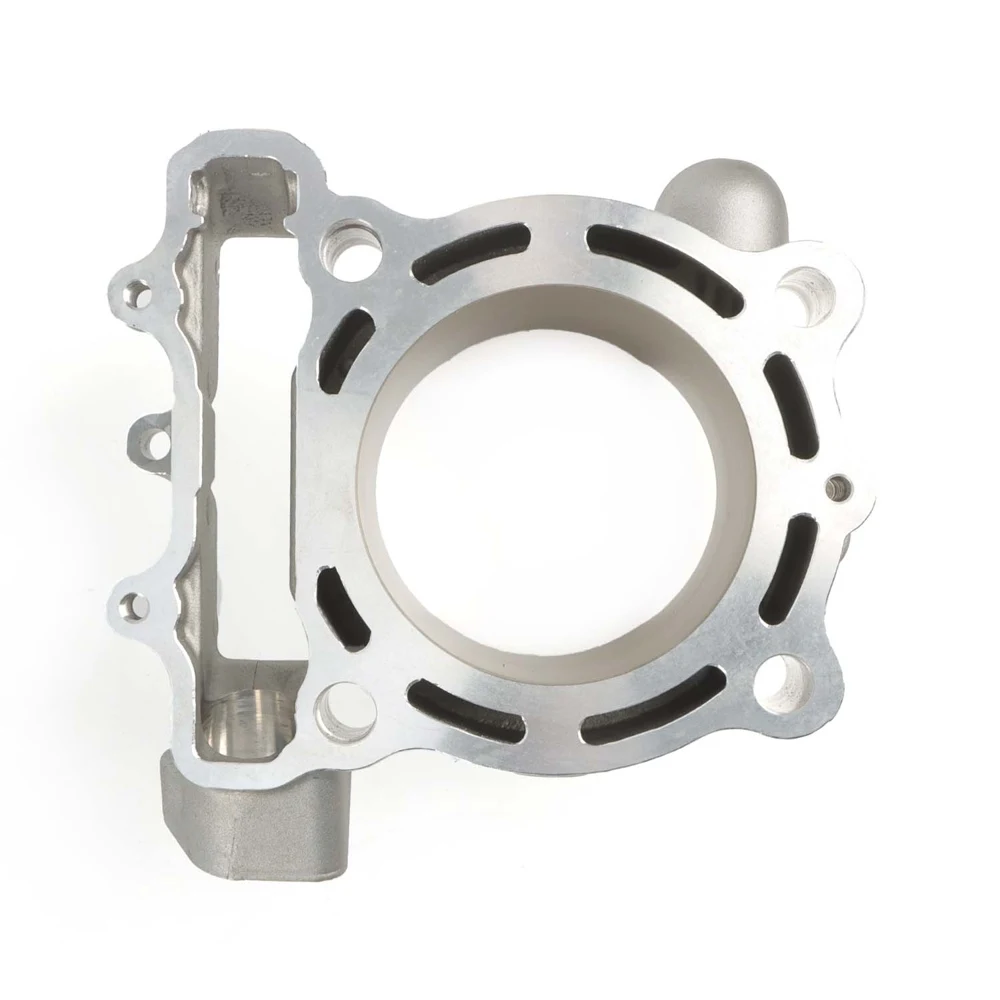
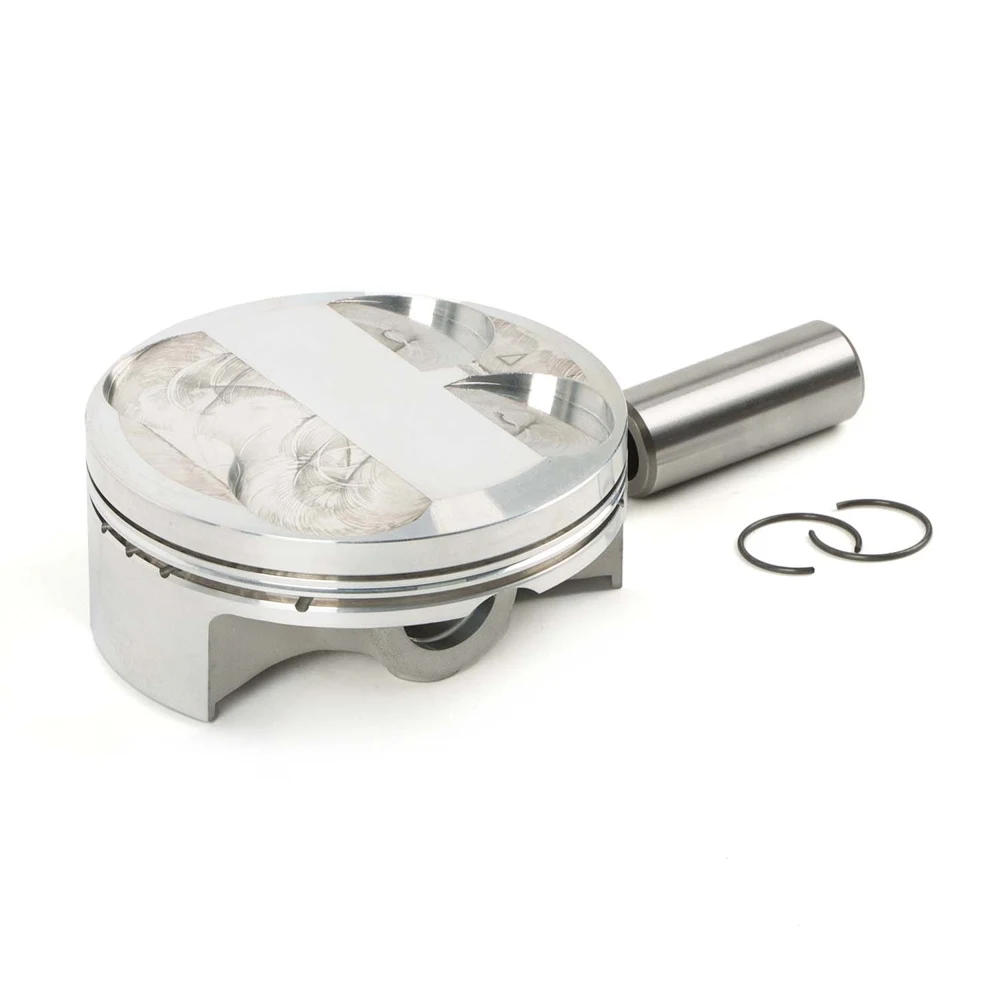
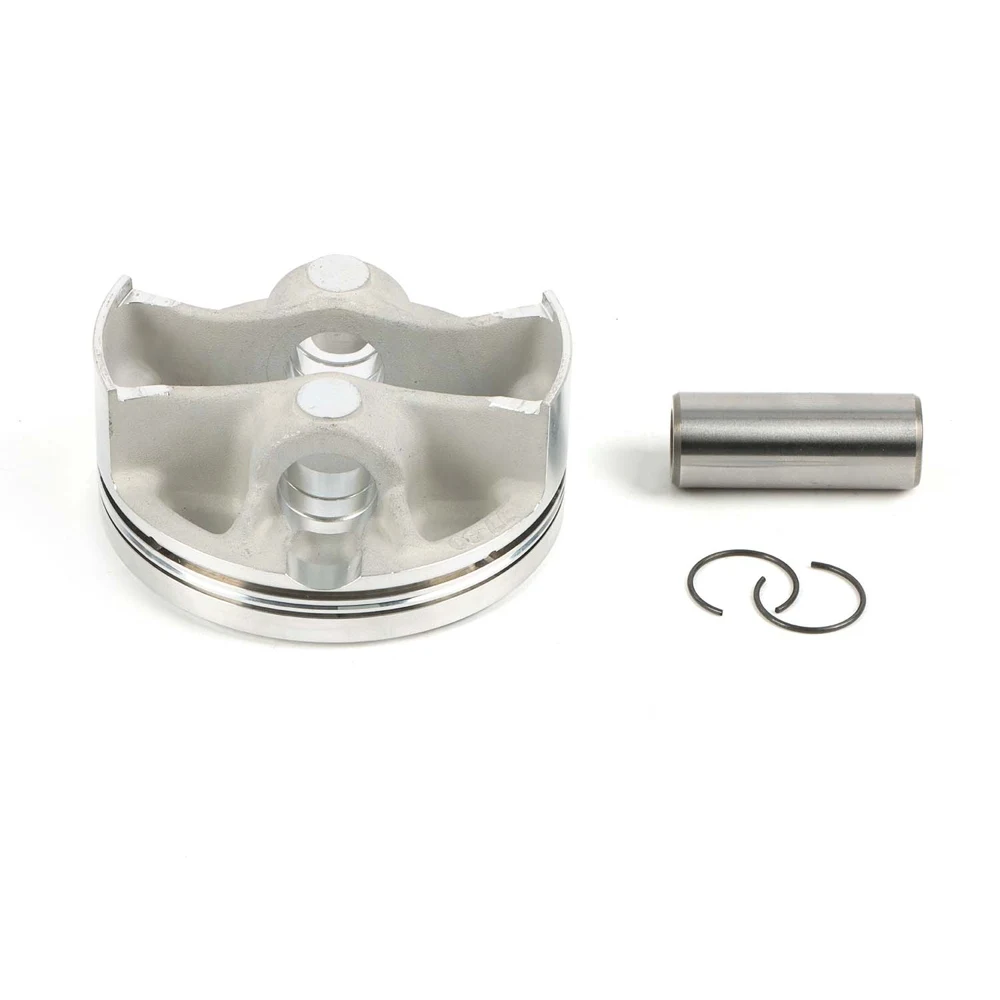
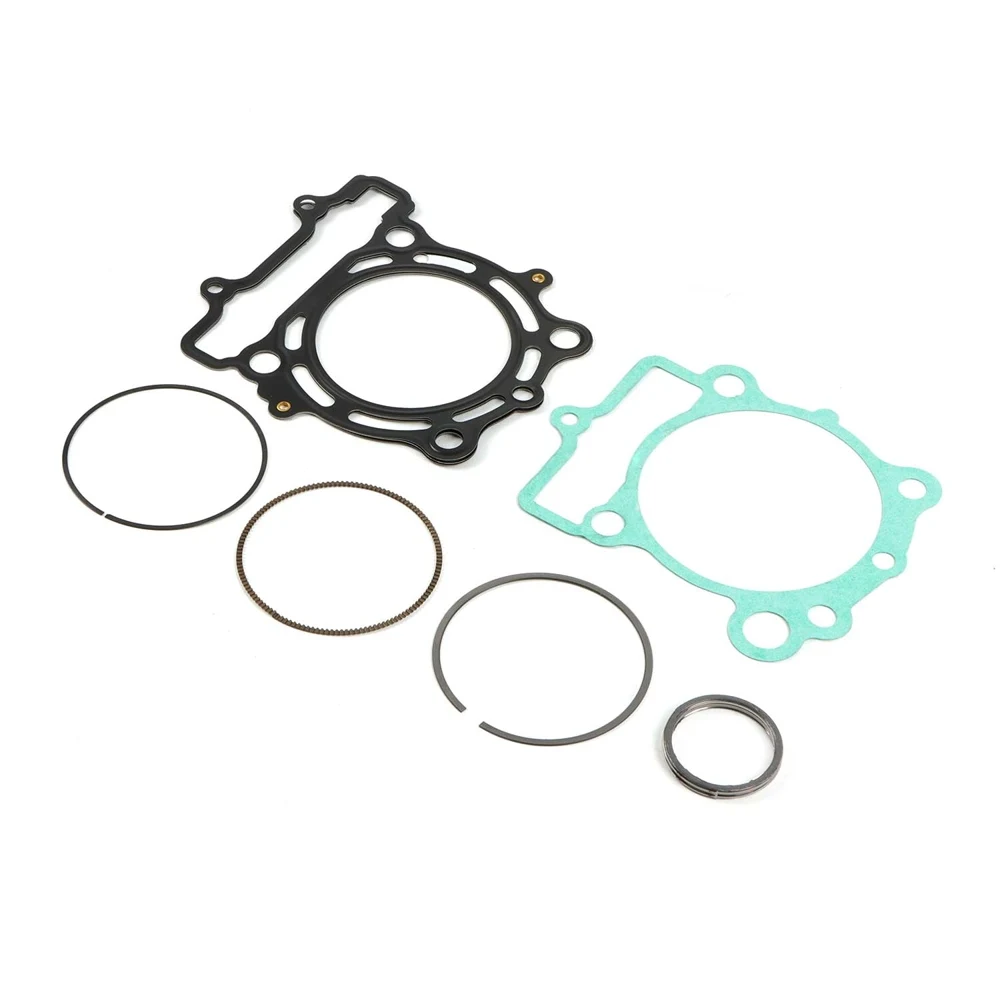
Motorcycle STD 77mm Cylinder Piston Rings Gaskets Kit For Kawasaki KX250F KXF250 2009-2016 Engine Parts Motor Accessories
Motorcycle STD 77mm Cylinder Piston Rings Gaskets Kit For Kawasaki KX250F KXF250 2009-2016 Engine Parts Motor Accessories
In stock
-
All orders are dispatched the next business day!
-
We will beat any price. We back all products with a 1 year guarantee.
Order in the next 0 hours 0 minutes to get it by /11/2026
Couldn't load pickup availability
Guaranteed Safe Checkout
1、 Preparation work before installation
Prepare tools and parts:
1. Wrench and wrench socket:Choose a wrench and wrench socket that is suitable for the size of each bolt and nut on the motorcycle.
2. Piston unloader: Use a piston unloader to safely remove piston components.
3. Cleaning agent and brush: Prepare cleaning agent and brush to clean the piston ring groove and cylinder wall before replacing the middle cylinder.
4. New middle cylinder: Ensure that the purchased middle cylinder is suitable for this vehicle model.
2、 Key steps in the installation process
1. Unloading components:
a. Remove the side cover, seat, and fuel tank of the motorcycle in sequence, and ensure that the fuel valve is closed before disassembly to avoid fuel leakage.
b. Remove the cylinder head and cylinder head. Depending on the vehicle model, other components may need to be removed.
2. Remove the old cylinder block.
3. Check whether there are any scratches or other issues on the surface of the piston. If there are scratches, the piston needs to be replaced.
When replacing the piston, pay attention to the installation position of the piston ring and ensure that the opening position of the piston ring does not match the piston pin. The opening of each piston ring should be staggered
120 ° -180 °.
Before installation, the cylinder body needs to be cleaned with cleaning agent and brush to clean the inner hole and upper and lower surfaces of the cylinder body, and ensure that there are no stains or dirt on the cylinder body and upper and lower surfaces
Add debris and evenly apply lubricating oil to the cylinder bore and piston; Ensure that the piston gently slides into the cylinder body when installing the cylinder body; The cylinder body can rotate after installation
Start the arm, check that the piston is running normally in the cylinder bore, and then install its accessories.
3、 Inspection and follow-up work after installation
Final cleaning: After the cylinder liner is installed, wipe the inner wall of the cylinder liner with a lint free white cloth to ensure that there are no impurities, dust, or fingerprints.
Recheck:Check if all connecting components are secure and if there are any tools or debris left in the cabin.
First launch:
Before starting, you can unplug the ignition coil or fuel pump fuse, run the starter for a short period of time, and allow the oil circulation to establish oil pressure.
Connect all components and start the engine. Pay attention to observe for any abnormal noise, smoke, or leaks.
Common mistakes and taboos
Taboo 1:Strike directly with a hammer. It can cause deformation, cracking, or damage to the cylinder liner or sealing ring.
Taboo 2:Use old or inferior sealing rings. This is a common cause of engine "oil-water mixing" or water leakage.
Taboo 3: Tilt the cylinder liner during installation. Causing permanent deformation of the cylinder liner, increased resistance to piston operation, and early wear.
Taboo 4: Incomplete cleaning. Any small impurities can become "abrasives", causing severe wear and tear on the engine at the moment of starting.

Duty For Internation Buyers
Import duties, taxes and charges are not included in the item price or shipping charges. These Charges are the buyer's responsibility.
Please check with your country's customs office to determine what these additional costs will be prior tobidding/buying.
About Product
-- 1.Please allow 0.5-1.0cm difference due to manual measurement.(1 cm=0.3937'').
-- 2.The color of the actual items may slightly different from the listing images due to different computer screen, thanks for your understanding.
Please check the product description and pictures carefully before your purchase to ensure it's the correct part you need!
Droshiping
All our products are neutral products, the packaging has no logo and brand, and are in stock, welcome to wholesale
Shipping Policy
Expedited Shipping(Fedex/Dhl/Tnt/UPS):To USA 7-12 Workdays, To United Kingdom & Australia 7-12 Workdays, To other counties 7-15 Workdays.
Please make sure to provide us with correct, precise and detailed shipping address and correct phone number. Order will be shipped out with 1 to 10 business days upon payment
received or cleared.
If you don't receive package over 30 business workdays, please notify us.
Return Policy
Customer satisfaction is our top goal.
If product is defective or damage upon arrival, or wrong product shipped, please contact us immediately.
Returns accepted within 30 workdays of delivery date and item must be in original new condition, not worn or altered in any way with attached tags & wrap. Otherwise deal is final.
Return shipping must be paid by buyer.
Please contact us first if you have any problems/questions/concerns. We will be happy to resolve any issues you may have in a cordial and friendly manner.
Feedback & Contact US
We will reply every message and solve the problem within 24 hours (except holiday). If you have any problem or concerns whatever with your order or products, please mail us and give us a
chance to assist you before leaving any feedback. We maintain high standards of excellence POSTIVE FEEDBACK and strive for 100% customer satisfaction! Feedback is very important to us.
We request that you contact us immediately BEFORE you give us neutral or negative feedback, so that we can satisfactorily address your concern.
Description
Description
1、 Preparation work before installation
Prepare tools and parts:
1. Wrench and wrench socket:Choose a wrench and wrench socket that is suitable for the size of each bolt and nut on the motorcycle.
2. Piston unloader: Use a piston unloader to safely remove piston components.
3. Cleaning agent and brush: Prepare cleaning agent and brush to clean the piston ring groove and cylinder wall before replacing the middle cylinder.
4. New middle cylinder: Ensure that the purchased middle cylinder is suitable for this vehicle model.
2、 Key steps in the installation process
1. Unloading components:
a. Remove the side cover, seat, and fuel tank of the motorcycle in sequence, and ensure that the fuel valve is closed before disassembly to avoid fuel leakage.
b. Remove the cylinder head and cylinder head. Depending on the vehicle model, other components may need to be removed.
2. Remove the old cylinder block.
3. Check whether there are any scratches or other issues on the surface of the piston. If there are scratches, the piston needs to be replaced.
When replacing the piston, pay attention to the installation position of the piston ring and ensure that the opening position of the piston ring does not match the piston pin. The opening of each piston ring should be staggered
120 ° -180 °.
Before installation, the cylinder body needs to be cleaned with cleaning agent and brush to clean the inner hole and upper and lower surfaces of the cylinder body, and ensure that there are no stains or dirt on the cylinder body and upper and lower surfaces
Add debris and evenly apply lubricating oil to the cylinder bore and piston; Ensure that the piston gently slides into the cylinder body when installing the cylinder body; The cylinder body can rotate after installation
Start the arm, check that the piston is running normally in the cylinder bore, and then install its accessories.
3、 Inspection and follow-up work after installation
Final cleaning: After the cylinder liner is installed, wipe the inner wall of the cylinder liner with a lint free white cloth to ensure that there are no impurities, dust, or fingerprints.
Recheck:Check if all connecting components are secure and if there are any tools or debris left in the cabin.
First launch:
Before starting, you can unplug the ignition coil or fuel pump fuse, run the starter for a short period of time, and allow the oil circulation to establish oil pressure.
Connect all components and start the engine. Pay attention to observe for any abnormal noise, smoke, or leaks.
Common mistakes and taboos
Taboo 1:Strike directly with a hammer. It can cause deformation, cracking, or damage to the cylinder liner or sealing ring.
Taboo 2:Use old or inferior sealing rings. This is a common cause of engine "oil-water mixing" or water leakage.
Taboo 3: Tilt the cylinder liner during installation. Causing permanent deformation of the cylinder liner, increased resistance to piston operation, and early wear.
Taboo 4: Incomplete cleaning. Any small impurities can become "abrasives", causing severe wear and tear on the engine at the moment of starting.
Duty For Internation Buyers
Import duties, taxes and charges are not included in the item price or shipping charges. These Charges are the buyer's responsibility.
Please check with your country's customs office to determine what these additional costs will be prior tobidding/buying.
About Product
-- 1.Please allow 0.5-1.0cm difference due to manual measurement.(1 cm=0.3937'').
-- 2.The color of the actual items may slightly different from the listing images due to different computer screen, thanks for your understanding.
Please check the product description and pictures carefully before your purchase to ensure it's the correct part you need!
Droshiping
All our products are neutral products, the packaging has no logo and brand, and are in stock, welcome to wholesale
Shipping Policy
Expedited Shipping(Fedex/Dhl/Tnt/UPS):To USA 7-12 Workdays, To United Kingdom & Australia 7-12 Workdays, To other counties 7-15 Workdays.
Please make sure to provide us with correct, precise and detailed shipping address and correct phone number. Order will be shipped out with 1 to 10 business days upon payment
received or cleared.
If you don't receive package over 30 business workdays, please notify us.
Return Policy
Customer satisfaction is our top goal.
If product is defective or damage upon arrival, or wrong product shipped, please contact us immediately.
Returns accepted within 30 workdays of delivery date and item must be in original new condition, not worn or altered in any way with attached tags & wrap. Otherwise deal is final.
Return shipping must be paid by buyer.
Please contact us first if you have any problems/questions/concerns. We will be happy to resolve any issues you may have in a cordial and friendly manner.
Feedback & Contact US
We will reply every message and solve the problem within 24 hours (except holiday). If you have any problem or concerns whatever with your order or products, please mail us and give us a
chance to assist you before leaving any feedback. We maintain high standards of excellence POSTIVE FEEDBACK and strive for 100% customer satisfaction! Feedback is very important to us.
We request that you contact us immediately BEFORE you give us neutral or negative feedback, so that we can satisfactorily address your concern.
Item Specifics
Item Specifics


Have a Question?
Powering Your Potential: Where Innovation Meets Convenience!
-
Focus on Benefits:
A well-crafted product description not only informs potential buyers about the features and benefits of your offering but also captivates their interest and compels them to make a purchase.
-
Know Your Audience: