
LOCKPICKTOOL
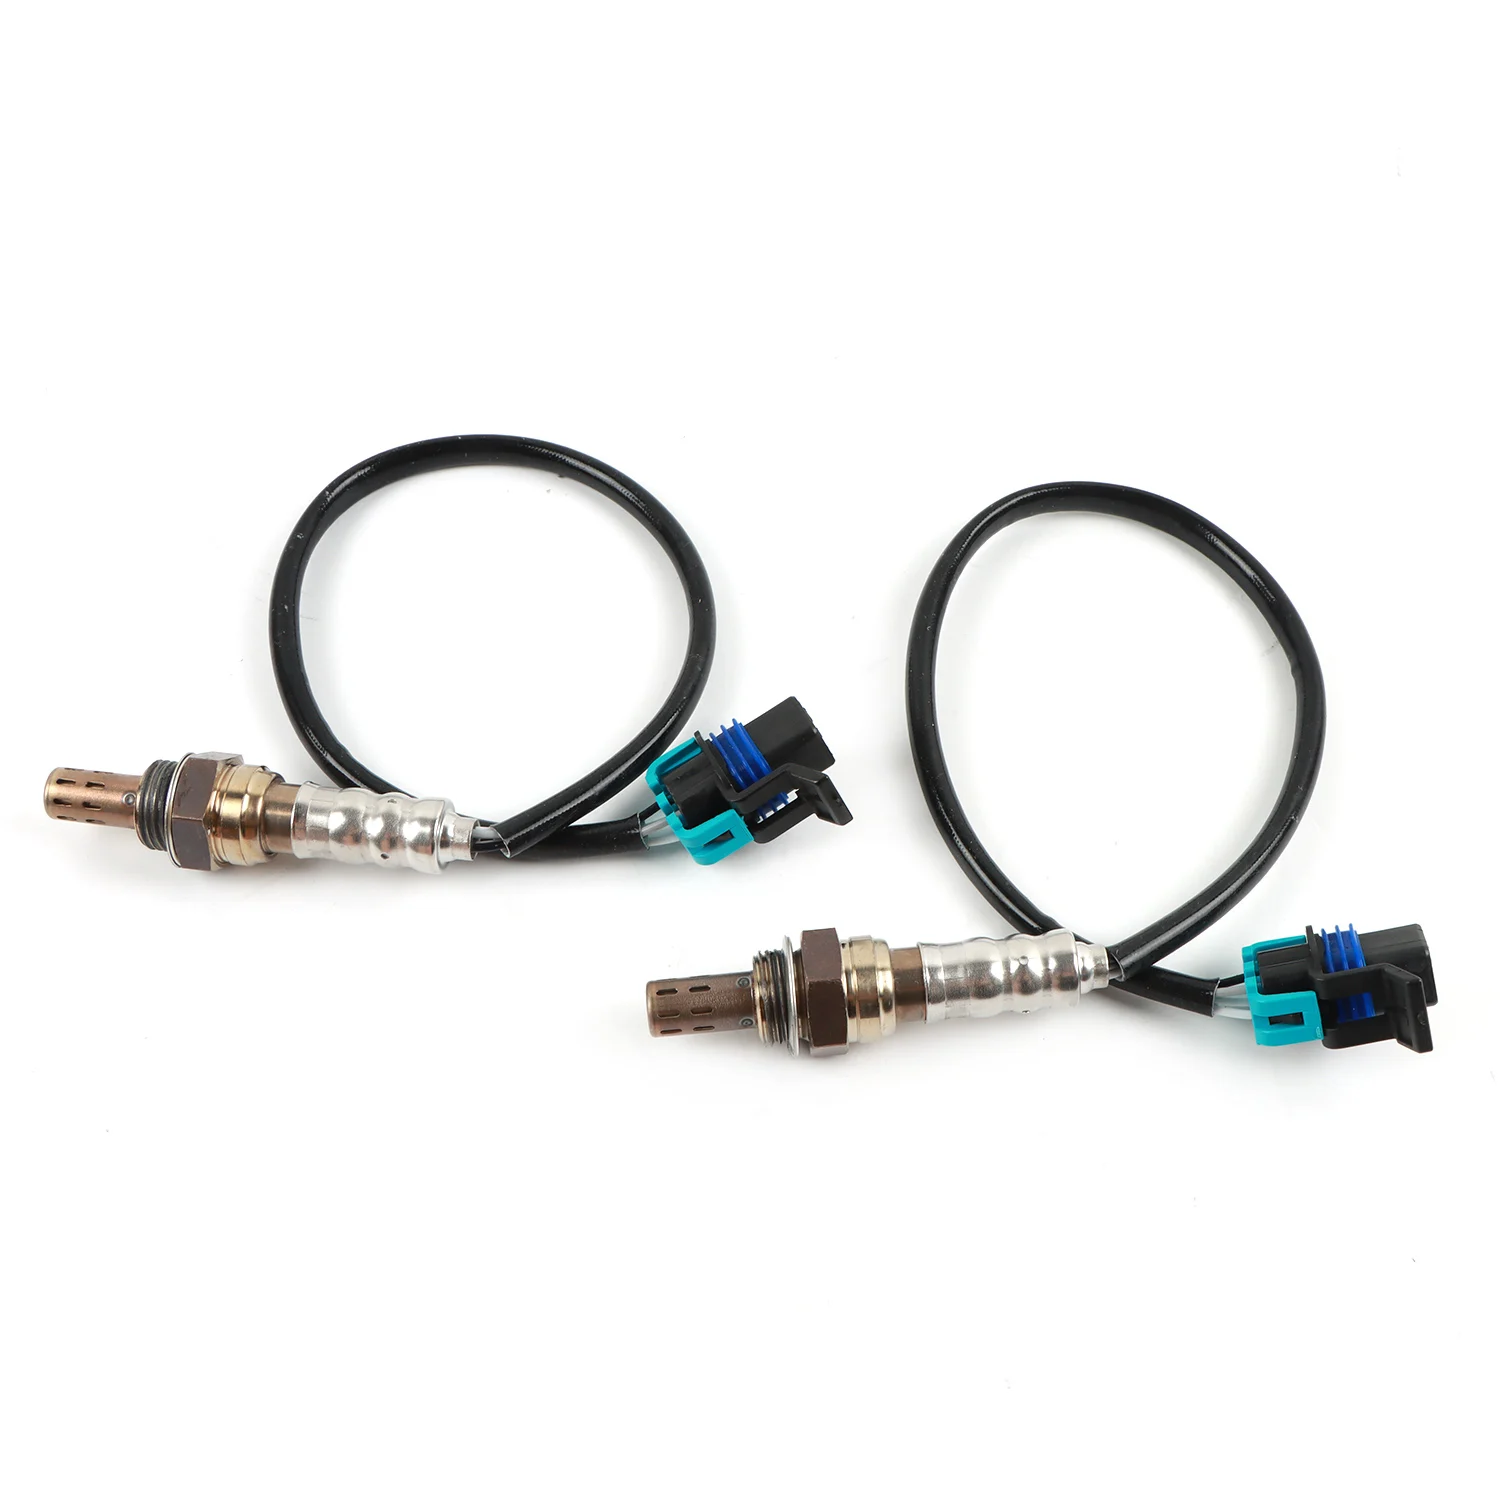
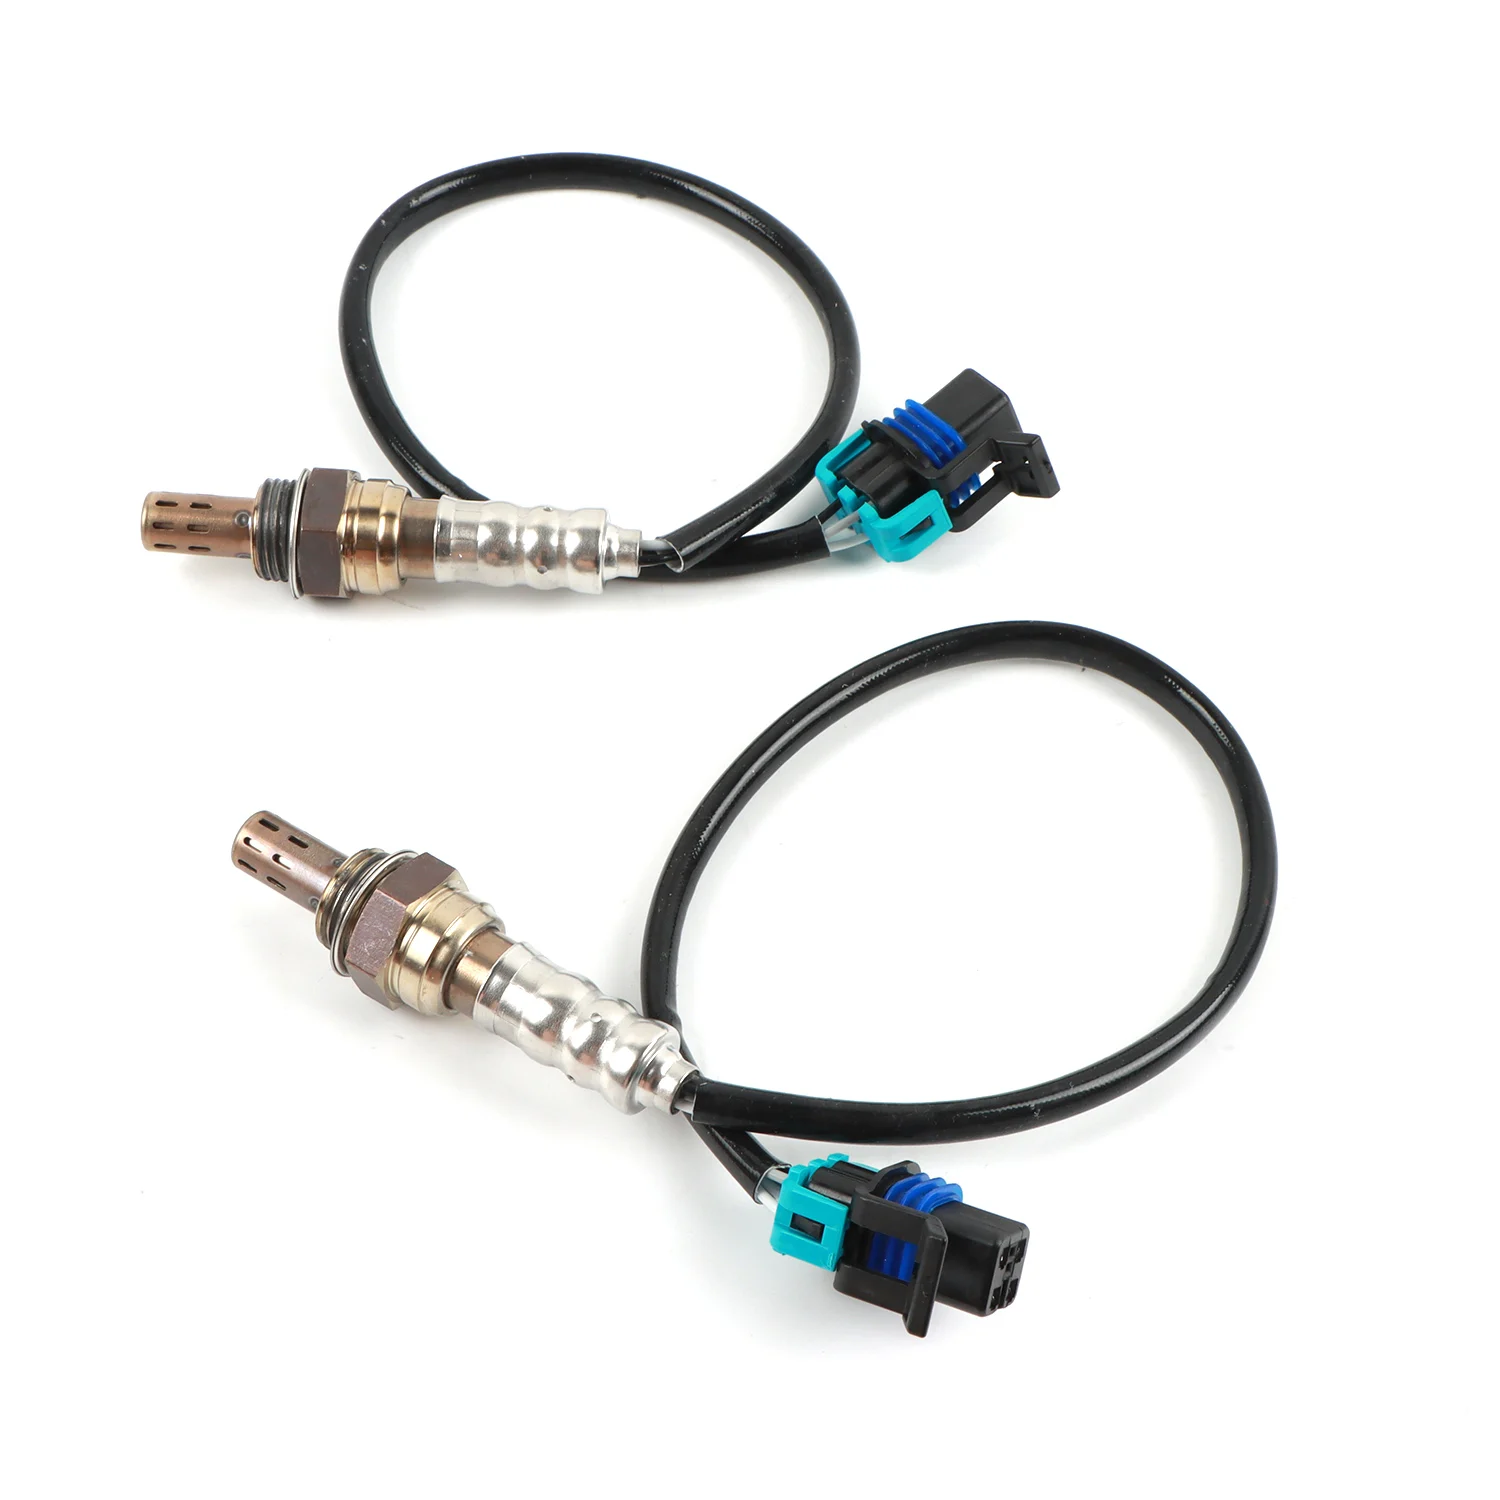
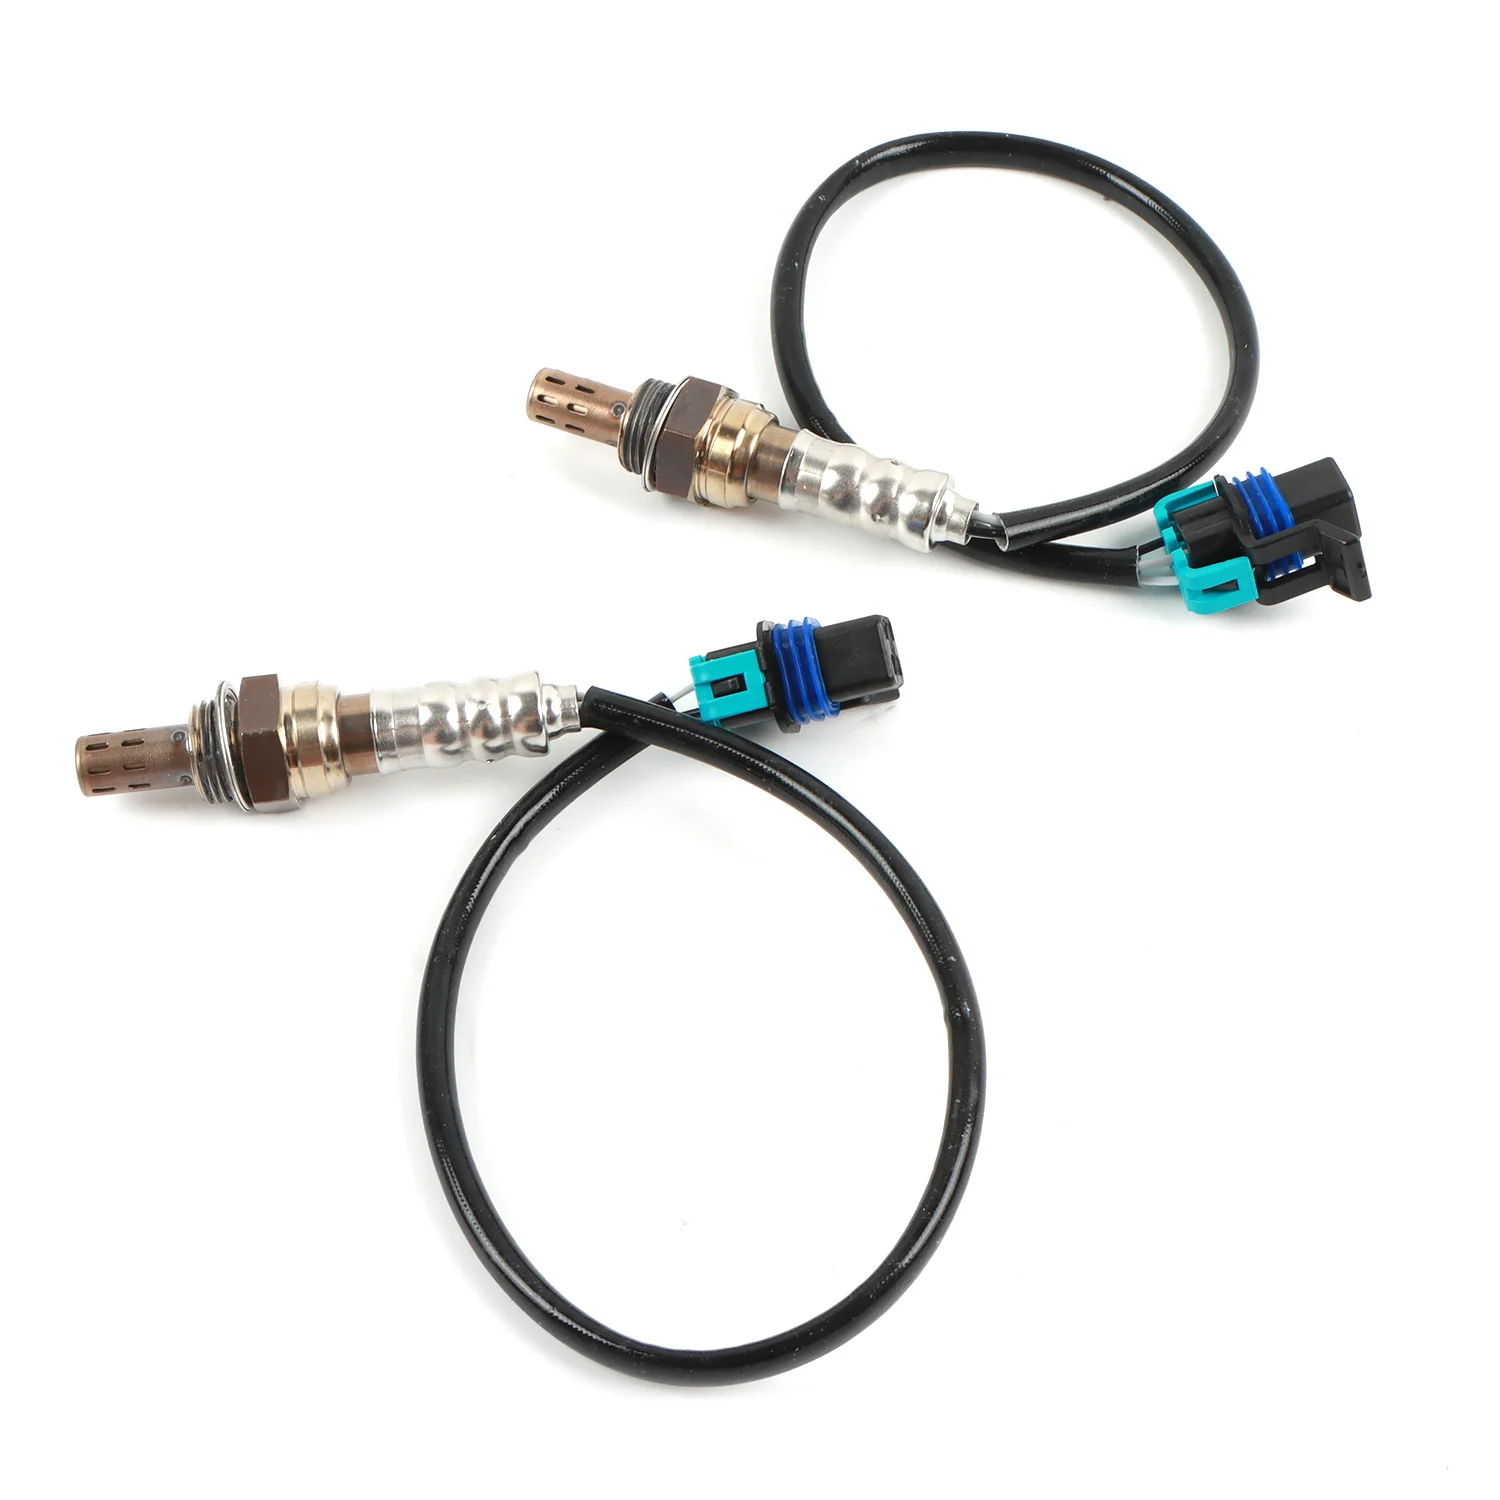
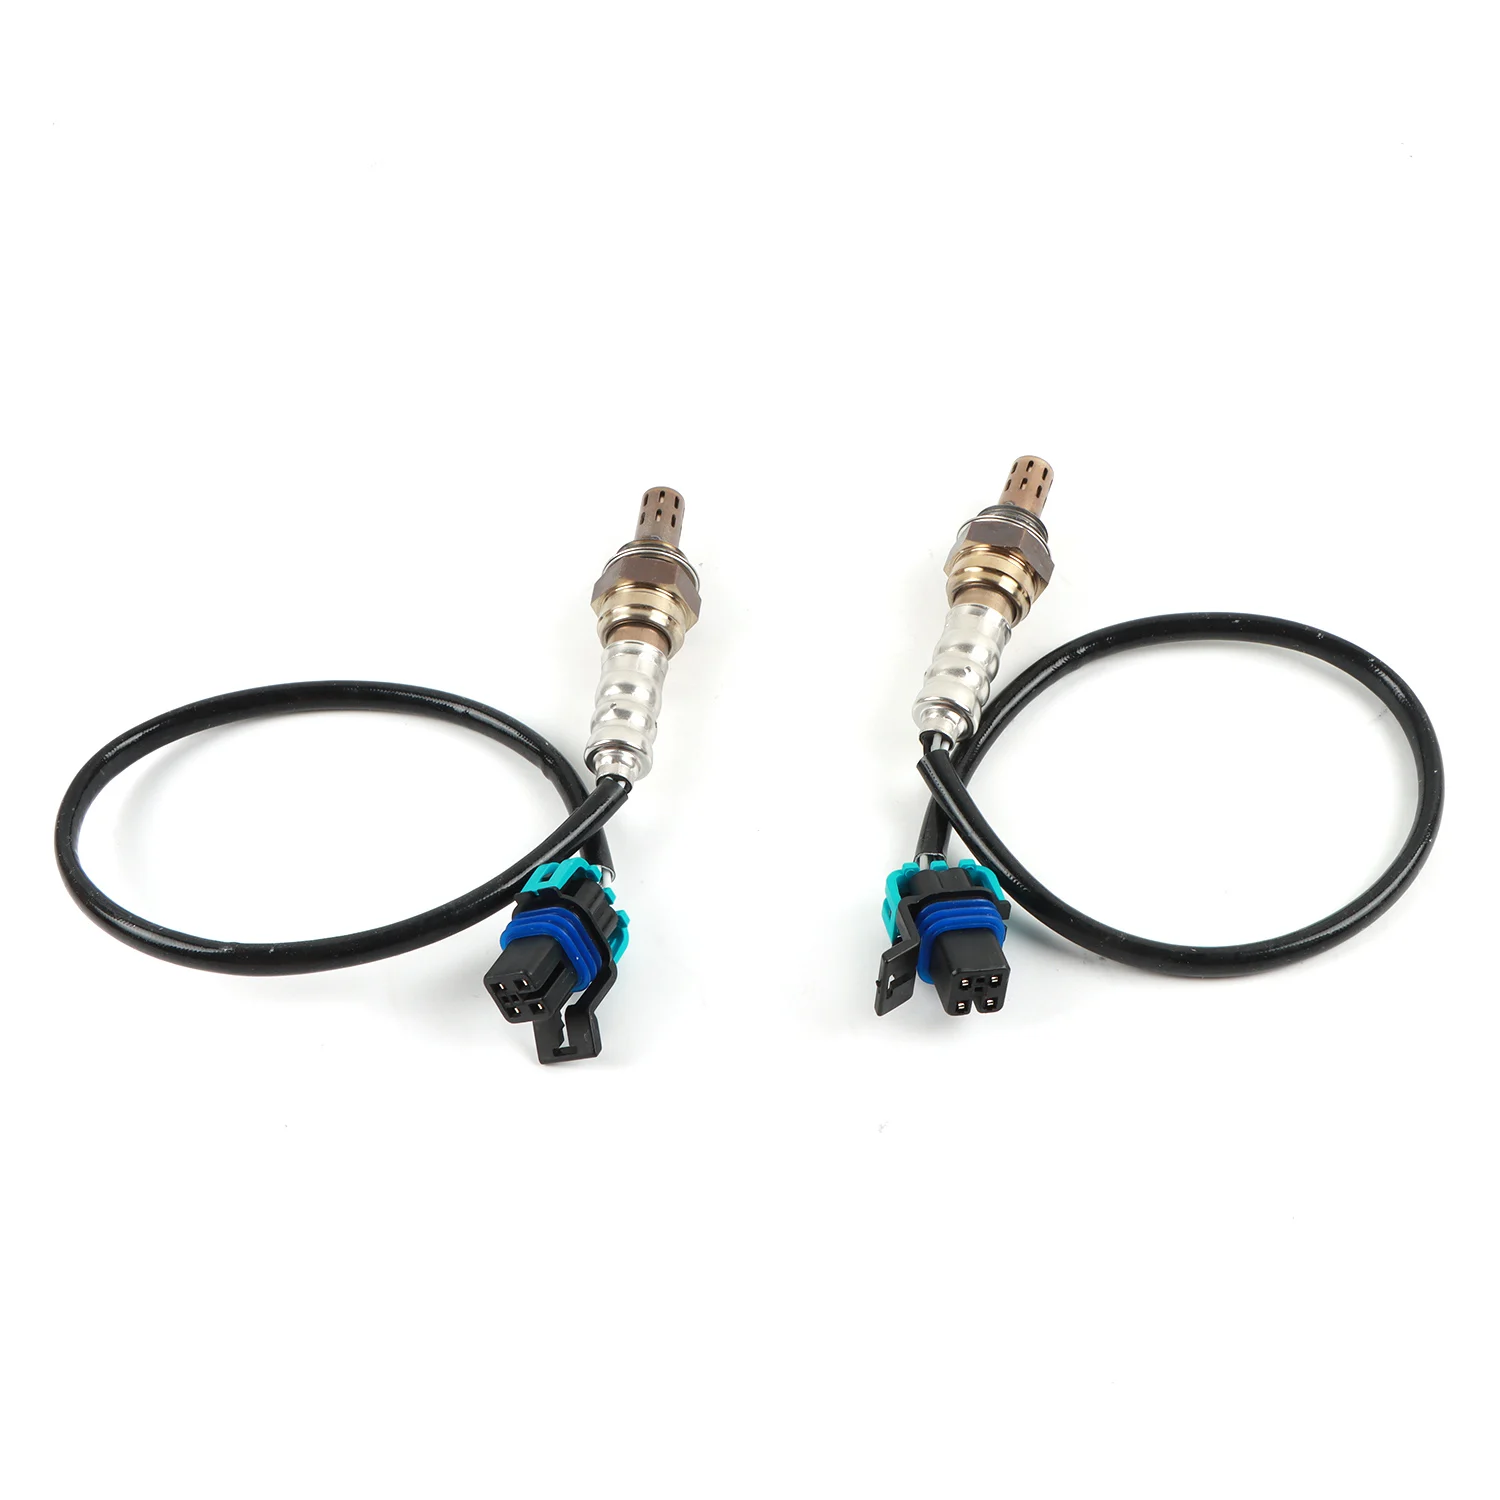
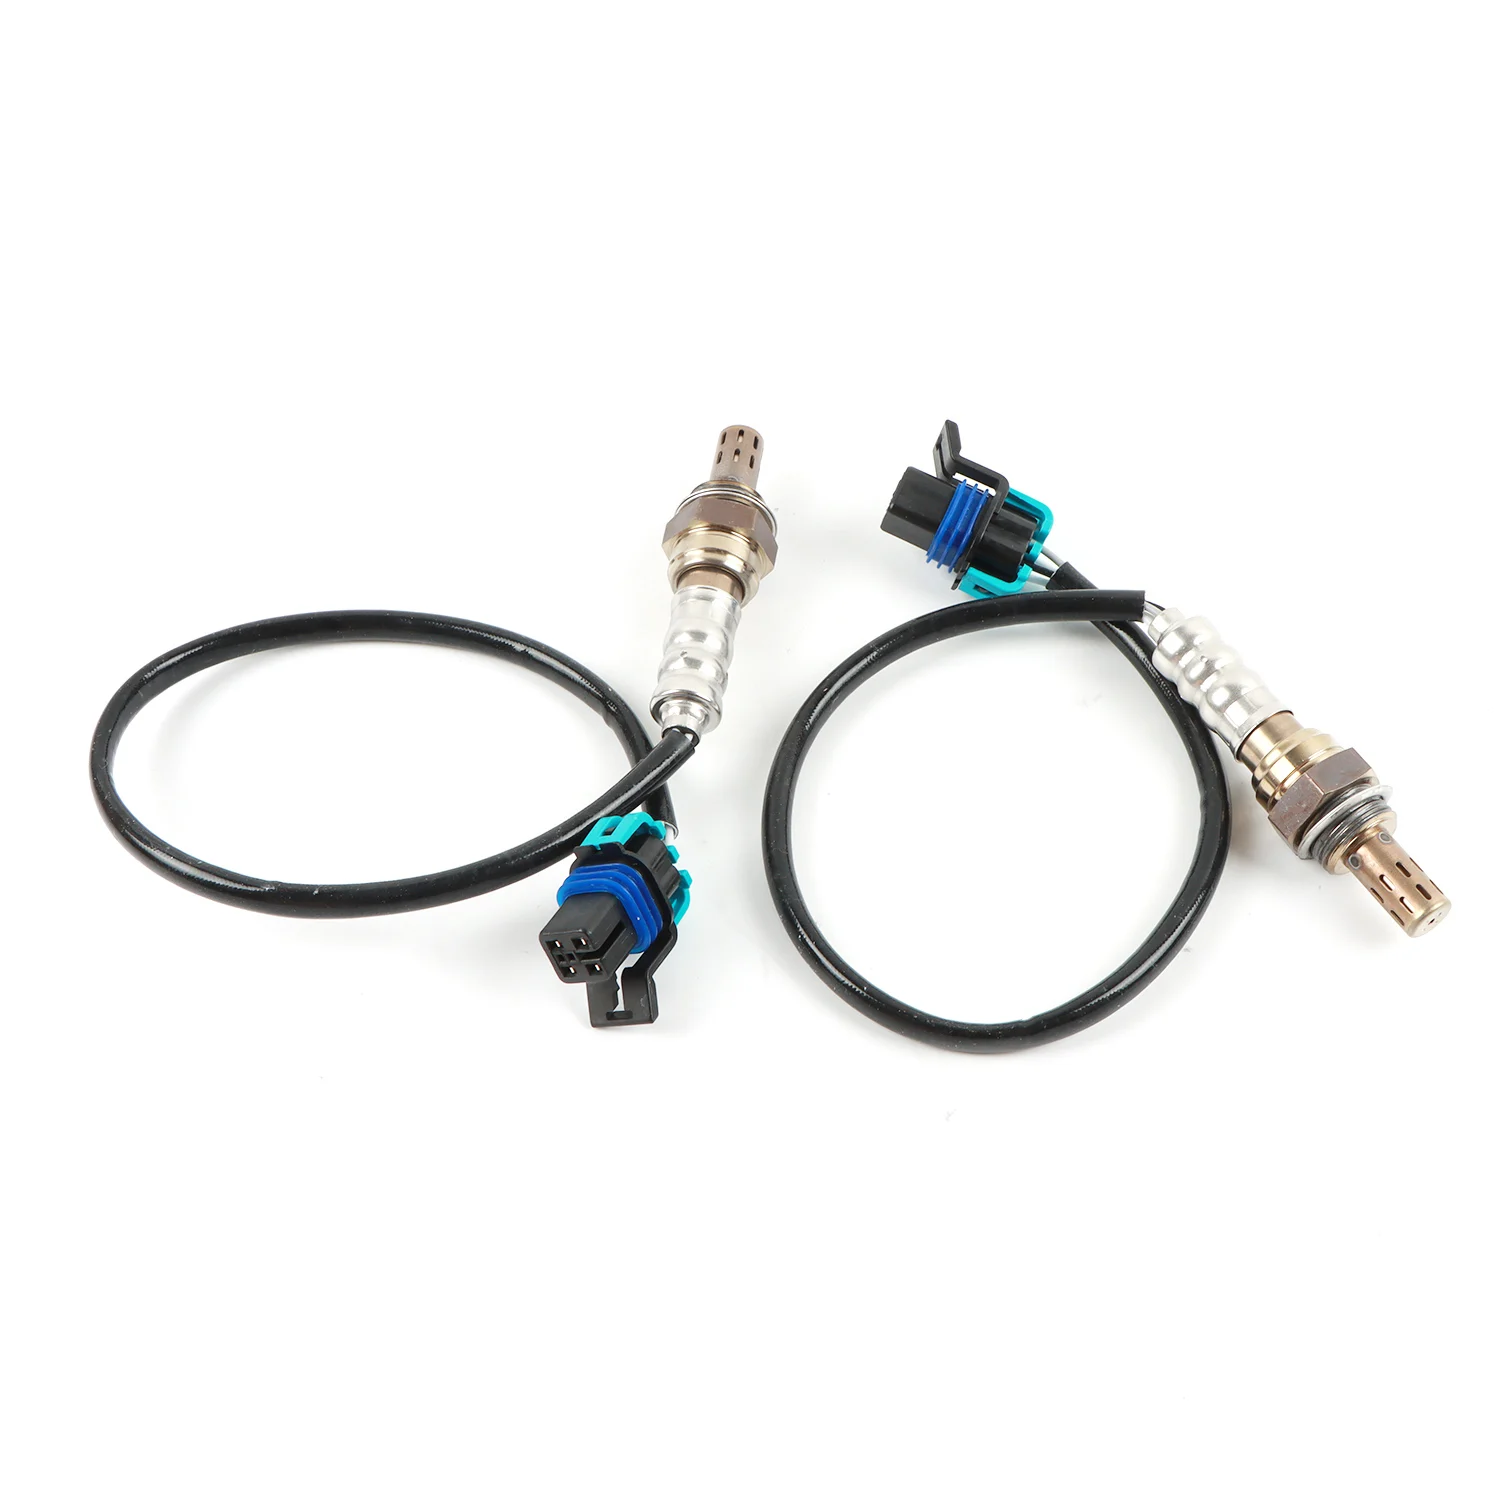
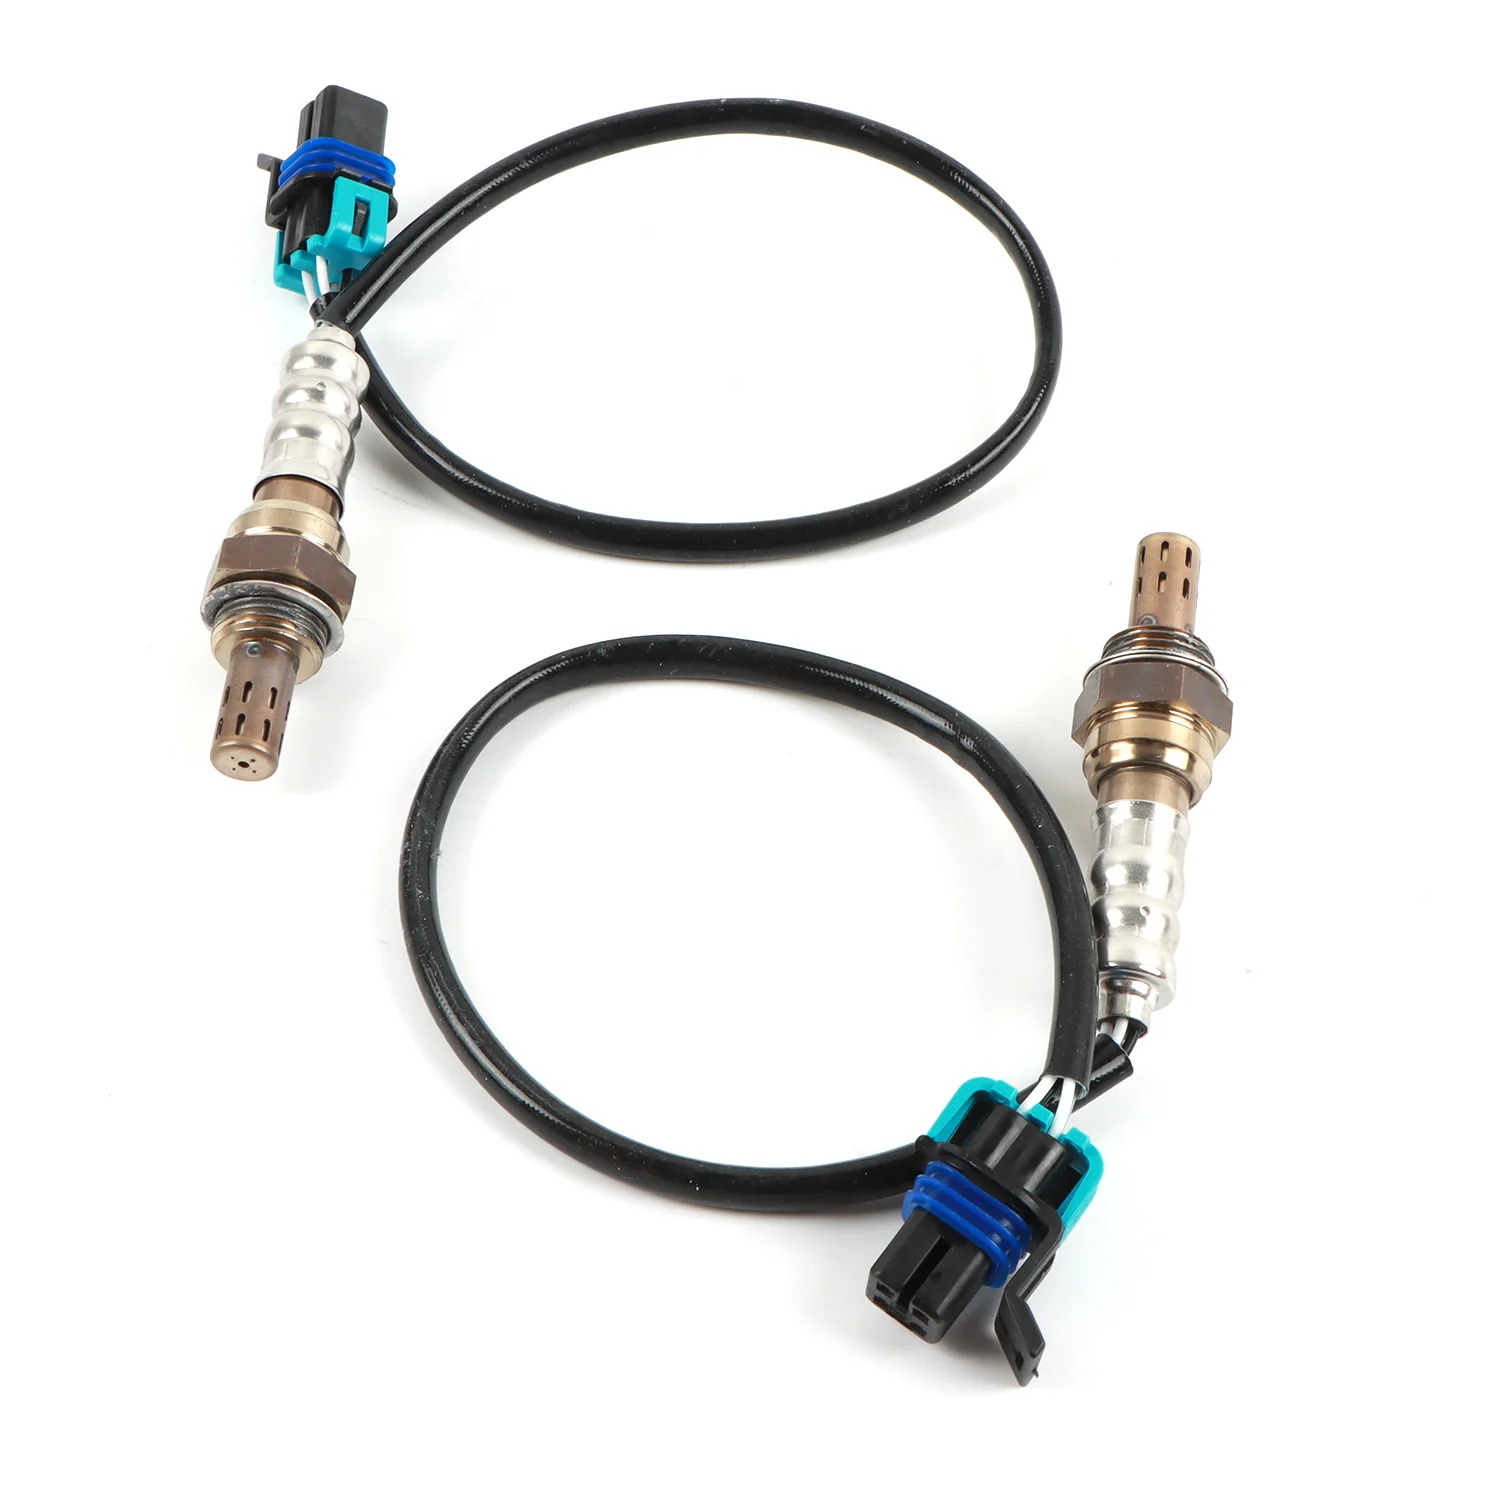
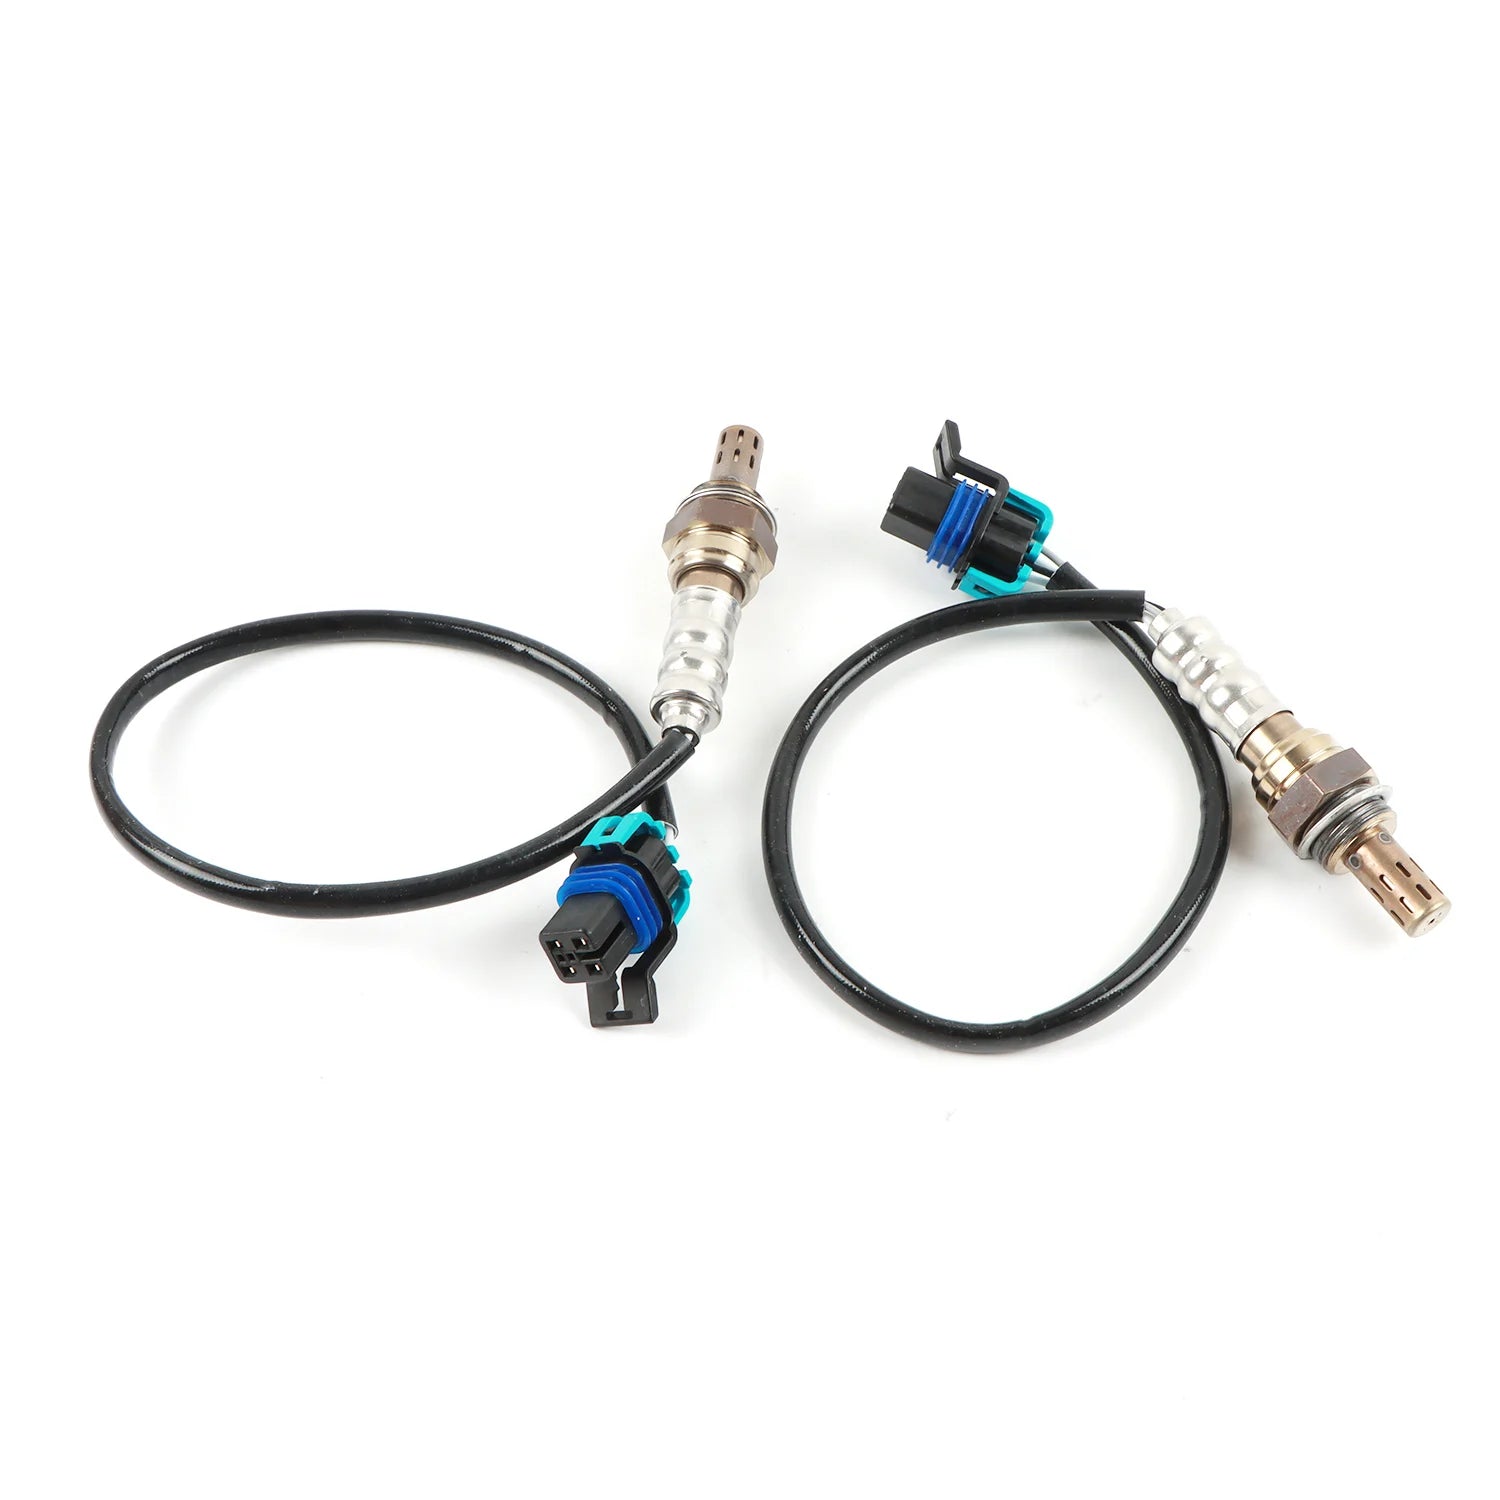
2pcs Oxygen Sensor Upstream Downstream For GMC Chevy Monte Carlo Lumina Savana Silverado Buick Century Aurora Pontiac 234-4087
2pcs Oxygen Sensor Upstream Downstream For GMC Chevy Monte Carlo Lumina Savana Silverado Buick Century Aurora Pontiac 234-4087
In stock
-
All orders are dispatched the next business day!
-
We will beat any price. We back all products with a 1 year guarantee.
Order in the next 0 hours 0 minutes to get it by /11/2026
Couldn't load pickup availability
Guaranteed Safe Checkout
Specification:
-
Material: Stainless
-
Length: 15.5cm
-
High:10.5cm
-
Width :5.5cm
-
wight: 0.3kg
-
-
Built to strict quality control standards 100% factory tested
-
IATF16949
-
100% Compatible with OEM Parts, meets Original Equipment Manufacturer (OEM) Standards
Feature:
1. Easy to Install: It can directly replace old equipment, it is convenient and reliable to use, easy to assemble and disassemble, however, we strongly recommend that you perform a professional installation to avoid trouble or damage.
2. Excellent Materials: The oxygen sensor is made of high-quality high-temperature-resistant materials, which are durable, resistant to oxidation and high temperature, and have a short response time, which can ensure long-term stable performance.
3. The reduction of harmful emissions
4. Prevent premature failure of the catalytic converter Use the correct part number as listed in the application catalogue ,Do not use sensor if i has been dropped ,Remove protection cap just prior to installation;
Firstly install sensor body ensuring lead wire is not twisted or bent , Do not use impact wrench or socket type wrench to install sensor ,M18 sensors - install finger tight then 1/2-3/4 turn with a wrench (35-45Nm) ;
Then connect and route lead wire as originally installed , Do not allow lead wire to touch exhaust manifold or any other hot component ,Do not apply any substances (especially oil or grease) to connector sensor ,Do not use leaded fuels,silicone or metal based additives.
Fitment:
1996-1996 Buick Century L4 2.2L Vin Code:4 Downstream (Rear)
1996-2004 Buick Century V6 3.1L Vin Code:M,J Downstream (Rear)
1996-2003 Buick Lesabre V6 3.8L Vin Code:K Downstream (Rear)
1996-2003 Buick Park Avenue V6 3.8L Vin Code:1,K Downstream (Rear)
2004-2005 Buick Rainier L6 4.2L Vin Code:S Downstream (Rear)
2006-2006 Buick Rainier V8 5.3L Vin Code:M Downstream (Rear) 1st Design;Stamped with Part#19209805
1996-1996 Buick Regal V6 3.1L Vin Code:M Downstream (Rear)
1996-2003 Buick Regal V6 3.8L Vin Code:1,K Downstream (Rear)
2002-2005 Buick Rendezvous V6 2.8L Vin Code:E Downstream (Rear)
1996-1999 Buick Riviera V6 3.6L Vin Code:1,K Downstream (Rear)
1996-2002 Chevrolet Camaro V6 3.8L Vin Code:K Downstream (Rear)
1996-1997 Chevrolet Camaro V8 5.7L Vin Code:P Downstream (Rear)
1998-2002 Chevrolet Camaro V8 5.7L Vin Code:G Upstream (Front);Downstream (Rear)
1996-2001 Chevrolet Lumina V6 3.1L Vin Code:M,J Downstream (Rear)
1996-1997 Chevrolet Lumina V6 3.4L Vin Code:X Downstream (Rear)
1998-1999 Chevrolet Lumina V6 3.8L Vin Code:K Downstream (Rear)
1996-1996 Chevrolet Lumina APV V6 3.4L Vin Code:E Downstream (Rear)
2004-2008 Chevrolet Lumina APV L4 2.2L Vin Code:F Downstream (Rear)
1996-1999 Chevrolet Monte Carlo V6 3.1L Vin Code:M Downstream (Rear)
1996-1997 Chevrolet Monte Carlo V6 3.4L Vin Code:X Downstream (Rear)
2000-2004 Chevrolet Monte Carlo V6 3.4L Vin Code:E Downstream (Rear)
1998-2003 Chevrolet Monte Carlo V6 3.8L Vin Code:K Downstream (Rear)
2006-2007 Chevrolet Monte Carlo V8 5.3L Vin Code:C Upstream (Front)
1997-2003 Chevrolet S10 Pickup L4 2.2L Vin Code:4,5,H Downstream (Rear)
1996-1999 Oldsmobile 88
Vin Code:K Downstream (Rear)
1996-1996 Oldsmobile 98
Vin Code:K Downstream (Rear)
1996-1999 Oldsmobile Aurona V8 4.0L Vin Code:C Downstream (Rear)
2002-2004 Oldsmobile Bravada L6 4.2L Vin Code:S Downstream (Rear)
1996-1996 Oldsmobile Cutlass Ciera L4 2.2L Vin Code:4 Downstream (Rear)
1996-1996 Oldsmobile Cutlass Ciera V6 3.1L Vin Code:M Downstream (Rear)
1996-1997 Oldsmobile Cutlass Supreme V6 3.1L Vin Code:M Downstream (Rear)
1996-1996 Oldsmobile Cutlass Supreme V6 3.4L Vin Code:X Downstream (Rear)
1999-1999 Oldsmobile Intrigue V6 3.5L Vin Code:H Downstream (Rear)
1998-1999 Oldsmobile Intrigue V6 3.8L Vin Code:K Downstream (Rear)
1996-1999 Oldsmobile LSS
Vin Code:1,K Downstream (Rear)
1997-1998 Oldsmobile Regency V6 3.8L Vin Code:K Downstream (Rear)
1996-2004 Oldsmobile Silhouette V6 3.4L Vin Code:E Downstream (Rear)
2001-2004 Pontiac Aztek V6 3.4L Vin Code:E Downstream (Rear)
1996-2003 Pontiac Bonneville V6 3.8L Vin Code:1,K Downstream (Rear)
1996-2002 Pontiac Firebird V6 3.8L Vin Code:K Downstream (Rear)
1996-1997 Pontiac Firebird V8 5.7L Vin Code:P Downstream (Rear)
1998-2002 Pontiac Firebird V8 5.7L Vin Code:G Upstream (Front);Downstream (Rear)
1996-2003 Pontiac Grand Prix V6 3.1L Vin Code:J,M Downstream (Rear)
1996-1996 Pontiac Grand Prix V6 3.4L Vin Code:X Downstream (Rear)
1997-2003 Pontiac Grand Prix V6 3.8L Vin Code:1,K Downstream (Rear)
1999-2004 Pontiac Montana V6 3.4L Vin Code:E Downstream (Rear)
2008-2009 Pontiac Torrent V6 3.6L Vin Code:7 Downstream (Rear)
1996-1998 Pontiac Trans Sport V6 3.4L Vin Code:E Downstream (Rear)
Attention:
-
Use the correct part number as listed in the application catalogue ,Do not use sensor if i has been dropped ,Remove protection cap just prior to installation;
-
Firstly install sensor body ensuring lead wire is not twisted or bent , Do not use impact wrench or socket type wrench to install sensor ,M18 sensors - install finger tight then 1/2-3/4 turn with a wrench (35-45Nm) ;
-
Then connect and route lead wire as originally installed , Do not allow lead wire to touch exhaust manifold or any other hot component ,Do not apply any substances (especially oil or grease) to connector sensor ,Do not use leaded fuels,silicone or metal based additives.
Note:
1. Check Engine Light comes on--The first line of defense is the Check Engine Light. The Check Engine Light will illuminate if you have a bad or failing oxygen sensor.
2. Bad gas mileage and rotten egg smell--If the oxygen sensor is going bad, the fuel-delivery and fuel-combustion systems will be thrown off. This excess fuel in the engine can produce a sulfuric, rotten egg smell, and may even produce black smoke from the exhaust.
3. Rough engine idle and misfires--Since the oxygen sensor output helps control engine timing, combustion intervals, and the air to fuel ratio, a bad sensor can disrupt these engine functions, causing a rough or irregular engine idle and other engine-related issues.
4. Q:When should replace the oxygen sensor?
A:Oxygen Sensor Failure Symptoms:
Reduced fuel mileage
Failed emissions testing
A check engine light
Poor drive-ability

Duty For Internation Buyers
Import duties, taxes and charges are not included in the item price or shipping charges. These Charges are the buyer's responsibility.
Please check with your country's customs office to determine what these additional costs will be prior tobidding/buying.
About Product
-- 1.Please allow 0.5-1.0cm difference due to manual measurement.(1 cm=0.3937'').
-- 2.The color of the actual items may slightly different from the listing images due to different computer screen, thanks for your understanding.
Please check the product description and pictures carefully before your purchase to ensure it's the correct part you need!
Droshiping
All our products are neutral products, the packaging has no logo and brand, and are in stock, welcome to wholesale
Shipping Policy
Expedited Shipping(Fedex/Dhl/Tnt/UPS):To USA 7-12 Workdays, To United Kingdom & Australia 7-12 Workdays, To other counties 7-15 Workdays.
Please make sure to provide us with correct, precise and detailed shipping address and correct phone number. Order will be shipped out with 1 to 10 business days upon payment
received or cleared.
If you don't receive package over 30 business workdays, please notify us.
Return Policy
Customer satisfaction is our top goal.
If product is defective or damage upon arrival, or wrong product shipped, please contact us immediately.
Returns accepted within 30 workdays of delivery date and item must be in original new condition, not worn or altered in any way with attached tags & wrap. Otherwise deal is final.
Return shipping must be paid by buyer.
Please contact us first if you have any problems/questions/concerns. We will be happy to resolve any issues you may have in a cordial and friendly manner.
Feedback & Contact US
We will reply every message and solve the problem within 24 hours (except holiday). If you have any problem or concerns whatever with your order or products, please mail us and give us a
chance to assist you before leaving any feedback. We maintain high standards of excellence POSTIVE FEEDBACK and strive for 100% customer satisfaction! Feedback is very important to us.
We request that you contact us immediately BEFORE you give us neutral or negative feedback, so that we can satisfactorily address your concern.
Description
Description
Specification:
-
Material: Stainless
-
Length: 15.5cm
-
High:10.5cm
-
Width :5.5cm
-
wight: 0.3kg
-
-
Built to strict quality control standards 100% factory tested
-
IATF16949
-
100% Compatible with OEM Parts, meets Original Equipment Manufacturer (OEM) Standards
Feature:
1. Easy to Install: It can directly replace old equipment, it is convenient and reliable to use, easy to assemble and disassemble, however, we strongly recommend that you perform a professional installation to avoid trouble or damage.
2. Excellent Materials: The oxygen sensor is made of high-quality high-temperature-resistant materials, which are durable, resistant to oxidation and high temperature, and have a short response time, which can ensure long-term stable performance.
3. The reduction of harmful emissions
4. Prevent premature failure of the catalytic converter Use the correct part number as listed in the application catalogue ,Do not use sensor if i has been dropped ,Remove protection cap just prior to installation;
Firstly install sensor body ensuring lead wire is not twisted or bent , Do not use impact wrench or socket type wrench to install sensor ,M18 sensors - install finger tight then 1/2-3/4 turn with a wrench (35-45Nm) ;
Then connect and route lead wire as originally installed , Do not allow lead wire to touch exhaust manifold or any other hot component ,Do not apply any substances (especially oil or grease) to connector sensor ,Do not use leaded fuels,silicone or metal based additives.
Fitment:
1996-1996 Buick Century L4 2.2L Vin Code:4 Downstream (Rear)
1996-2004 Buick Century V6 3.1L Vin Code:M,J Downstream (Rear)
1996-2003 Buick Lesabre V6 3.8L Vin Code:K Downstream (Rear)
1996-2003 Buick Park Avenue V6 3.8L Vin Code:1,K Downstream (Rear)
2004-2005 Buick Rainier L6 4.2L Vin Code:S Downstream (Rear)
2006-2006 Buick Rainier V8 5.3L Vin Code:M Downstream (Rear) 1st Design;Stamped with Part#19209805
1996-1996 Buick Regal V6 3.1L Vin Code:M Downstream (Rear)
1996-2003 Buick Regal V6 3.8L Vin Code:1,K Downstream (Rear)
2002-2005 Buick Rendezvous V6 2.8L Vin Code:E Downstream (Rear)
1996-1999 Buick Riviera V6 3.6L Vin Code:1,K Downstream (Rear)
1996-2002 Chevrolet Camaro V6 3.8L Vin Code:K Downstream (Rear)
1996-1997 Chevrolet Camaro V8 5.7L Vin Code:P Downstream (Rear)
1998-2002 Chevrolet Camaro V8 5.7L Vin Code:G Upstream (Front);Downstream (Rear)
1996-2001 Chevrolet Lumina V6 3.1L Vin Code:M,J Downstream (Rear)
1996-1997 Chevrolet Lumina V6 3.4L Vin Code:X Downstream (Rear)
1998-1999 Chevrolet Lumina V6 3.8L Vin Code:K Downstream (Rear)
1996-1996 Chevrolet Lumina APV V6 3.4L Vin Code:E Downstream (Rear)
2004-2008 Chevrolet Lumina APV L4 2.2L Vin Code:F Downstream (Rear)
1996-1999 Chevrolet Monte Carlo V6 3.1L Vin Code:M Downstream (Rear)
1996-1997 Chevrolet Monte Carlo V6 3.4L Vin Code:X Downstream (Rear)
2000-2004 Chevrolet Monte Carlo V6 3.4L Vin Code:E Downstream (Rear)
1998-2003 Chevrolet Monte Carlo V6 3.8L Vin Code:K Downstream (Rear)
2006-2007 Chevrolet Monte Carlo V8 5.3L Vin Code:C Upstream (Front)
1997-2003 Chevrolet S10 Pickup L4 2.2L Vin Code:4,5,H Downstream (Rear)
1996-1999 Oldsmobile 88
Vin Code:K Downstream (Rear)
1996-1996 Oldsmobile 98
Vin Code:K Downstream (Rear)
1996-1999 Oldsmobile Aurona V8 4.0L Vin Code:C Downstream (Rear)
2002-2004 Oldsmobile Bravada L6 4.2L Vin Code:S Downstream (Rear)
1996-1996 Oldsmobile Cutlass Ciera L4 2.2L Vin Code:4 Downstream (Rear)
1996-1996 Oldsmobile Cutlass Ciera V6 3.1L Vin Code:M Downstream (Rear)
1996-1997 Oldsmobile Cutlass Supreme V6 3.1L Vin Code:M Downstream (Rear)
1996-1996 Oldsmobile Cutlass Supreme V6 3.4L Vin Code:X Downstream (Rear)
1999-1999 Oldsmobile Intrigue V6 3.5L Vin Code:H Downstream (Rear)
1998-1999 Oldsmobile Intrigue V6 3.8L Vin Code:K Downstream (Rear)
1996-1999 Oldsmobile LSS
Vin Code:1,K Downstream (Rear)
1997-1998 Oldsmobile Regency V6 3.8L Vin Code:K Downstream (Rear)
1996-2004 Oldsmobile Silhouette V6 3.4L Vin Code:E Downstream (Rear)
2001-2004 Pontiac Aztek V6 3.4L Vin Code:E Downstream (Rear)
1996-2003 Pontiac Bonneville V6 3.8L Vin Code:1,K Downstream (Rear)
1996-2002 Pontiac Firebird V6 3.8L Vin Code:K Downstream (Rear)
1996-1997 Pontiac Firebird V8 5.7L Vin Code:P Downstream (Rear)
1998-2002 Pontiac Firebird V8 5.7L Vin Code:G Upstream (Front);Downstream (Rear)
1996-2003 Pontiac Grand Prix V6 3.1L Vin Code:J,M Downstream (Rear)
1996-1996 Pontiac Grand Prix V6 3.4L Vin Code:X Downstream (Rear)
1997-2003 Pontiac Grand Prix V6 3.8L Vin Code:1,K Downstream (Rear)
1999-2004 Pontiac Montana V6 3.4L Vin Code:E Downstream (Rear)
2008-2009 Pontiac Torrent V6 3.6L Vin Code:7 Downstream (Rear)
1996-1998 Pontiac Trans Sport V6 3.4L Vin Code:E Downstream (Rear)
Attention:
-
Use the correct part number as listed in the application catalogue ,Do not use sensor if i has been dropped ,Remove protection cap just prior to installation;
-
Firstly install sensor body ensuring lead wire is not twisted or bent , Do not use impact wrench or socket type wrench to install sensor ,M18 sensors - install finger tight then 1/2-3/4 turn with a wrench (35-45Nm) ;
-
Then connect and route lead wire as originally installed , Do not allow lead wire to touch exhaust manifold or any other hot component ,Do not apply any substances (especially oil or grease) to connector sensor ,Do not use leaded fuels,silicone or metal based additives.
Note:
1. Check Engine Light comes on--The first line of defense is the Check Engine Light. The Check Engine Light will illuminate if you have a bad or failing oxygen sensor.
2. Bad gas mileage and rotten egg smell--If the oxygen sensor is going bad, the fuel-delivery and fuel-combustion systems will be thrown off. This excess fuel in the engine can produce a sulfuric, rotten egg smell, and may even produce black smoke from the exhaust.
3. Rough engine idle and misfires--Since the oxygen sensor output helps control engine timing, combustion intervals, and the air to fuel ratio, a bad sensor can disrupt these engine functions, causing a rough or irregular engine idle and other engine-related issues.
4. Q:When should replace the oxygen sensor?
A:Oxygen Sensor Failure Symptoms:
Reduced fuel mileage
Failed emissions testing
A check engine light
Poor drive-ability
Duty For Internation Buyers
Import duties, taxes and charges are not included in the item price or shipping charges. These Charges are the buyer's responsibility.
Please check with your country's customs office to determine what these additional costs will be prior tobidding/buying.
About Product
-- 1.Please allow 0.5-1.0cm difference due to manual measurement.(1 cm=0.3937'').
-- 2.The color of the actual items may slightly different from the listing images due to different computer screen, thanks for your understanding.
Please check the product description and pictures carefully before your purchase to ensure it's the correct part you need!
Droshiping
All our products are neutral products, the packaging has no logo and brand, and are in stock, welcome to wholesale
Shipping Policy
Expedited Shipping(Fedex/Dhl/Tnt/UPS):To USA 7-12 Workdays, To United Kingdom & Australia 7-12 Workdays, To other counties 7-15 Workdays.
Please make sure to provide us with correct, precise and detailed shipping address and correct phone number. Order will be shipped out with 1 to 10 business days upon payment
received or cleared.
If you don't receive package over 30 business workdays, please notify us.
Return Policy
Customer satisfaction is our top goal.
If product is defective or damage upon arrival, or wrong product shipped, please contact us immediately.
Returns accepted within 30 workdays of delivery date and item must be in original new condition, not worn or altered in any way with attached tags & wrap. Otherwise deal is final.
Return shipping must be paid by buyer.
Please contact us first if you have any problems/questions/concerns. We will be happy to resolve any issues you may have in a cordial and friendly manner.
Feedback & Contact US
We will reply every message and solve the problem within 24 hours (except holiday). If you have any problem or concerns whatever with your order or products, please mail us and give us a
chance to assist you before leaving any feedback. We maintain high standards of excellence POSTIVE FEEDBACK and strive for 100% customer satisfaction! Feedback is very important to us.
We request that you contact us immediately BEFORE you give us neutral or negative feedback, so that we can satisfactorily address your concern.
Item Specifics
Item Specifics


Have a Question?
Powering Your Potential: Where Innovation Meets Convenience!
-
Focus on Benefits:
A well-crafted product description not only informs potential buyers about the features and benefits of your offering but also captivates their interest and compels them to make a purchase.
-
Know Your Audience: